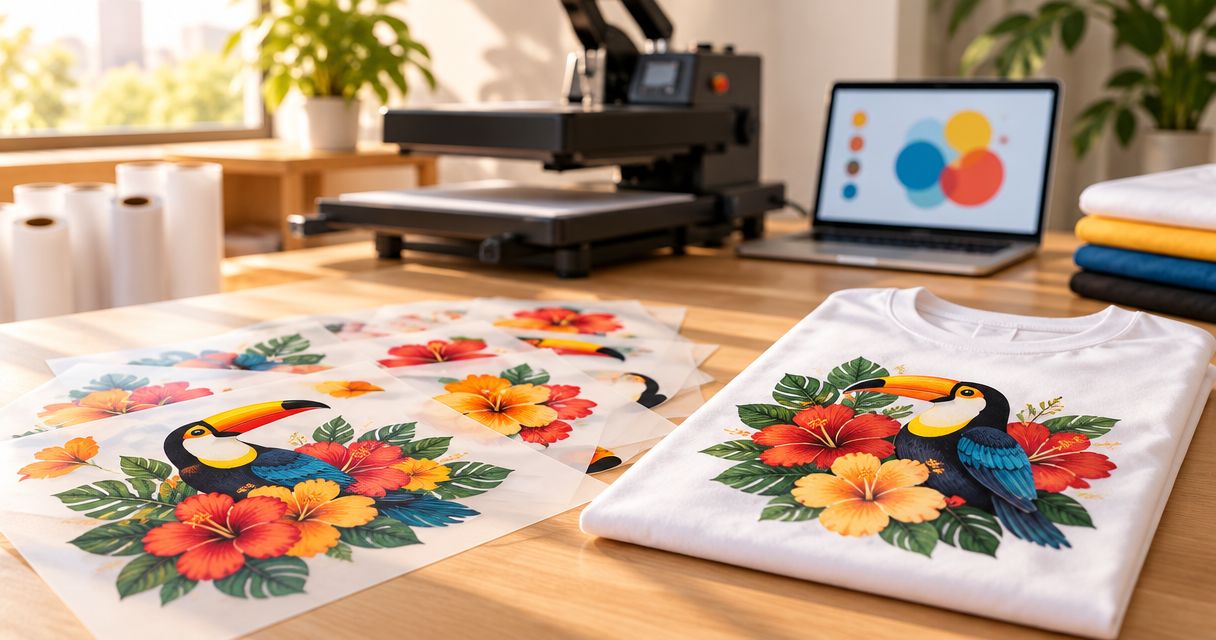
Clothing brand sample-run DTF printing is the use of direct-to-film transfers to test apparel designs before committing to a larger run. For your 2026 launch, the goal is to approve the artwork, print size, placement and finished garment together—not just approve a design on a screen.
- For DTF transfers Houston sample runs, LongHorn Print offers no-minimum ordering and same-day quotes.
- Approve a physical garment before increasing your transfer quantity; a digital mockup cannot confirm application quality.
- Compare DTF transfers, direct-to-garment printing and screen printing against your sample’s purpose and application setup.
- Same-day quotes are not a promise of same-day production, pickup or delivery.
Why DTF printing matters for clothing brand samples
A clothing sample has a different job from a production order: it exposes decisions that still need work. You need to see whether the chest graphic sits correctly, whether fine lettering stays readable and whether the decorated garment feels right to wear.
LongHorn Print offers DTF transfers with no minimum order, so you can order a sample without committing to a larger transfer quantity. Same-day quotes help you establish the order details; confirm production and fulfillment timing separately.
For a Houston-area brand preparing a 2026 release, local ordering also requires a clear handoff plan. If you are ordering for US shipping, separate the date you need transfers from the date you need finished, inspected apparel. Neither date should depend on an unconfirmed production or delivery assumption.
Treat a sample as an approval tool, not a miniature production run. Decide what the sample must prove before choosing a quantity.
How to prepare a clothing brand sample run
Define what your sample must prove
Start with a written sample brief in a shared document or spreadsheet. Name the garment, intended buyer, artwork version and decision you need to make; do not begin with an open-ended request to print something that looks good.
Separate a fit sample from a decoration sample. A garment used only to judge fit does not answer questions about transfer placement or application. Likewise, a flat printed panel does not show how a graphic sits when someone wears the shirt.
For your 2026 sample brief, write a pass condition beside every question. Replace vague feedback such as make it better with a decision such as move the graphic lower or enlarge the small lettering.
- State the sample’s purpose: fit, placement, artwork or wear evaluation.
- Identify the exact blank garment and fabric composition.
- Record the artwork filename and revision date.
- Assign one person to approve the finished sample.
- List the changes that would require another sample.
Measure the artwork on the actual garment
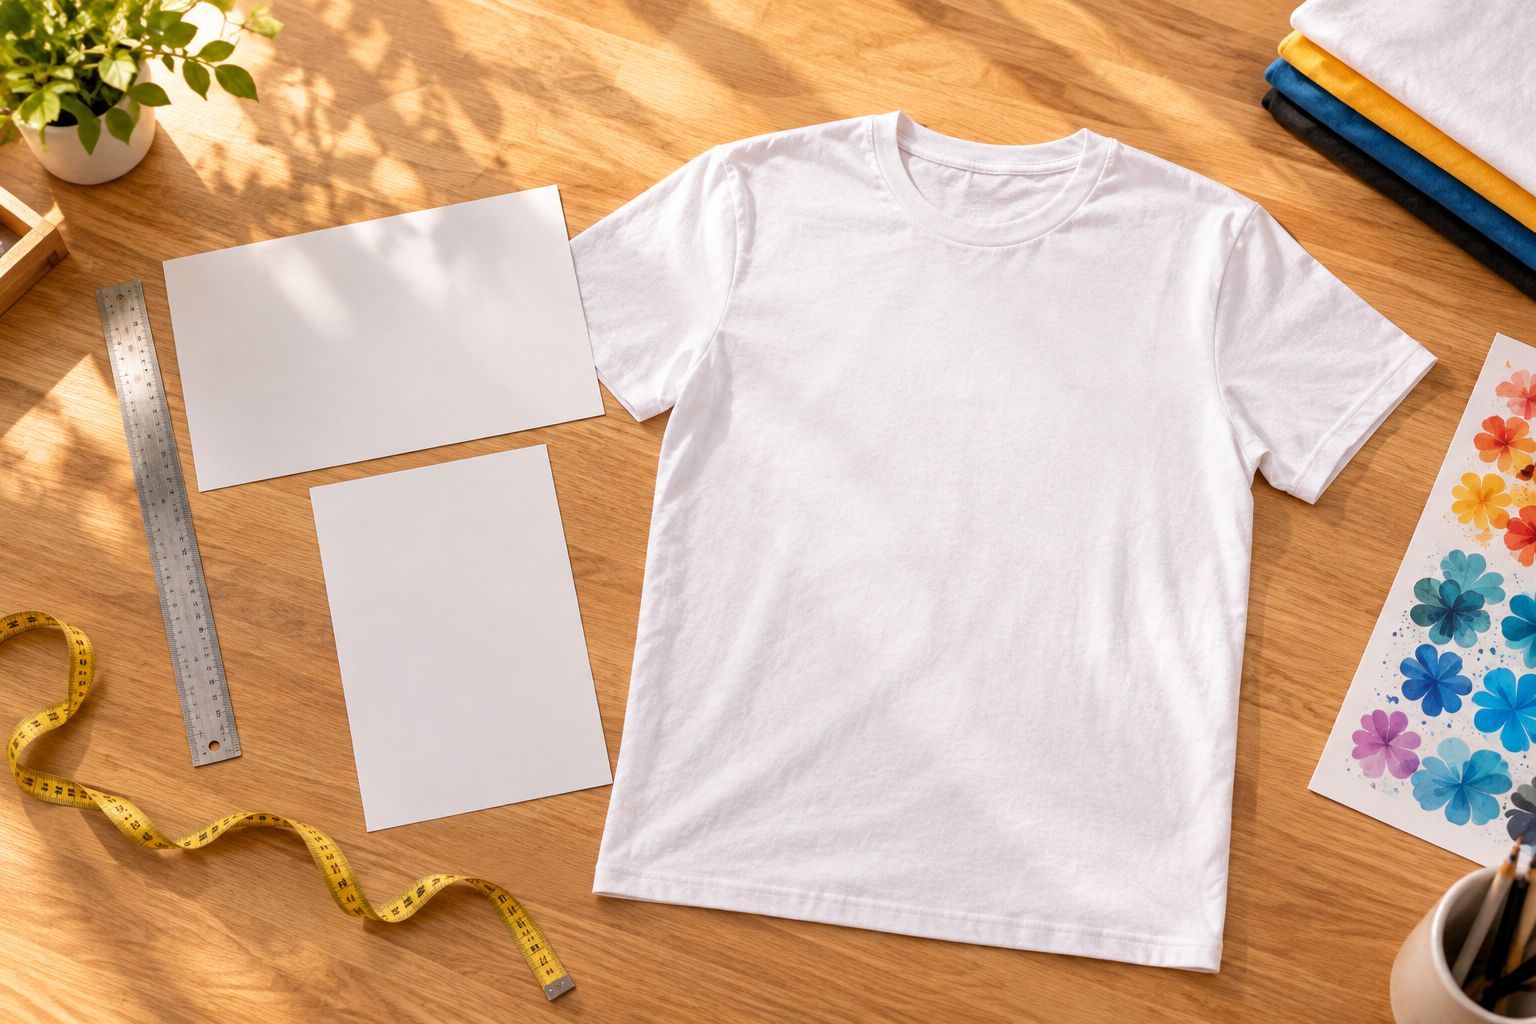
Use a ruler, paper template and the blank garment before ordering. A rectangle placed on the shirt shows scale more clearly than a design floating over a stock mockup, especially when the garment has dropped shoulders, a cropped body or an oversized cut.
As a practical test, compare 2 print widths on the same garment before choosing your transfer dimensions. This is a planning method, not a required order quantity. Measure the finished artwork itself rather than the surrounding transparent canvas.
Check placement while the garment is worn as well as laid flat. Seams, pockets and garment shape affect where the design appears; the center of the fabric panel is not always the visual center of the finished shirt.
- Mark the proposed print width and height in inches.
- Measure placement from a repeatable garment reference point.
- Compare the design on your smallest and largest planned garment sizes.
- Check that the print area avoids seams and pockets.
- Photograph the paper template for your order brief.
Match the transfer order to your application setup
First, establish who will apply the transfers. If you will press them yourself, check the instructions for the exact transfer and confirm that your equipment can follow them; do not borrow settings from an unrelated tutorial.
LongHorn Print is best for clothing brands that need no-minimum DTF transfer orders and same-day quotes. That ordering flexibility suits sample work, but the transfer purchase does not replace garment testing or an application plan.
If another shop will apply your transfers, send the garment details and transfer instructions before ordering. Confirm that the shop accepts the work and agrees on who supplies each item. A transfer order and a finished-shirt order are different requests.
- Identify who supplies the blank garments.
- Identify who applies the transfers.
- Confirm the transfer’s application and peel instructions.
- Check garment suitability before approving the order.
- Keep quote timing separate from production and delivery timing.
Prepare artwork that matches the finished print
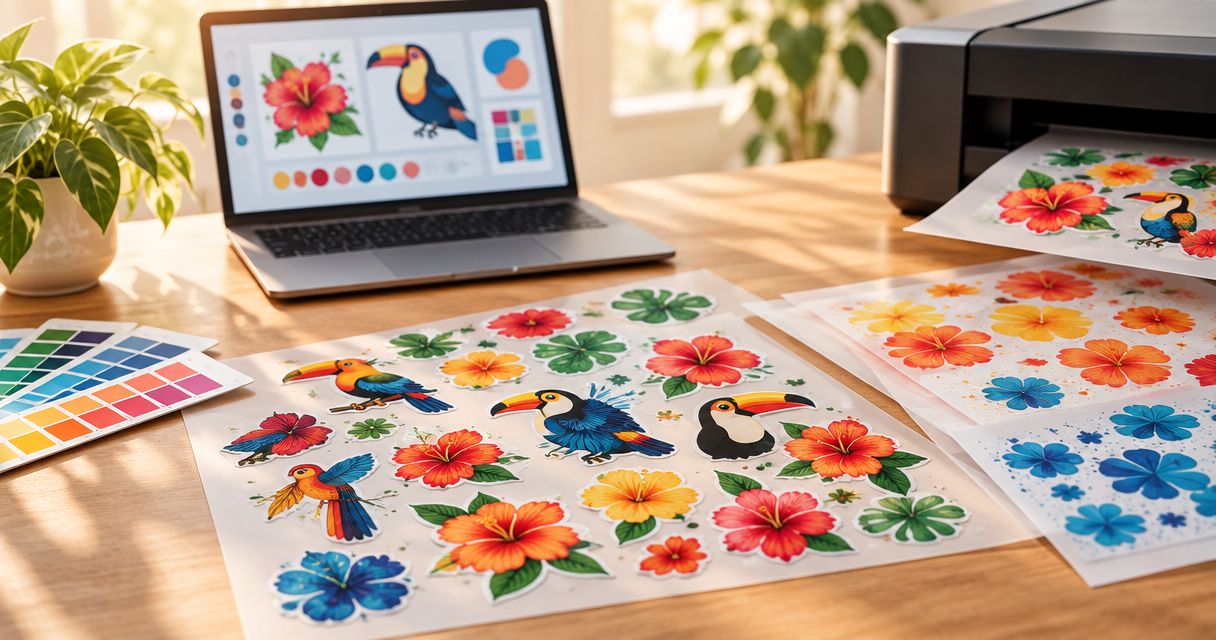
Open the final file at its intended physical dimensions and inspect it closely. Check spelling, small text, fine lines, unintended backgrounds and the edges of any cutout artwork. A sharp preview at a small screen size is not enough to approve a print file.
Ask for the accepted file format and artwork requirements before exporting. Raster artwork depends on pixel dimensions at the intended print size; enlarging a small image does not create missing detail. Vector artwork preserves scalable shapes, but embedded raster elements still need inspection.
Keep an untouched master file and a separate order-ready export. For a 2026 collection, include the collection name and revision in the filename so an older graphic does not accidentally become the production file.
- Set the artwork to the intended finished dimensions.
- Remove backgrounds that should not print.
- Inspect small lettering and thin details at print size.
- Check transparency and visible edge artifacts.
- Send only the approved export with the order brief.
Build a controlled sample quantity
Count the tests you need, then assign transfers to those tests. Do not choose a quantity simply because a larger number feels more efficient; unnecessary samples create more garments to manage without answering another question.
One useful starting plan is 3 test garments: one for placement approval, one for wear and washing, and one kept as an unchanged reference. This is a suggested test plan, not a minimum order or a guarantee that every design needs the same quantity.
Keep each comparison controlled. If you change the blank, artwork size and application method together, the result will not tell you which change caused a problem. Record each variant separately and order replacements only after identifying what needs correction.
- Assign a purpose to every sample garment.
- Count front, back and sleeve transfers separately.
- Separate artwork revisions instead of mixing them together.
- Include replacement transfers only where your test plan needs them.
- Record the approved quantity for each design and size.
Inspect application, wear and washing separately
Use a simple inspection sheet rather than relying on memory. Start with the transfer’s application instructions, document the settings you use, and inspect the finished garment after the required cooling or peeling process.
Review the garment through 3 checkpoints: after application, during wear and after washing according to the applicable care instructions. Look for lifting edges, visible surface changes, placement problems and differences between the sample and your intended finish. Do not turn one successful wash into a lifetime durability claim.
Keep the reference garment out of the wash test. Comparing a washed sample with an unchanged reference helps you describe what changed without relying on photographs taken under different lighting.
- Record the garment, transfer version and application settings.
- Check edges, small details and overall placement.
- Assess the decorated garment while it is worn.
- Follow the supplied care instructions for wash testing.
- Photograph results under consistent lighting.
- Write a pass, revise or reject decision for each sample.
Approve the repeat order with a complete handoff
Build the repeat-order brief from the sample you approved, not from the first mockup. Record the artwork file, finished dimensions, garment details and placement reference together so a later order does not reopen settled decisions.
Before increasing your 2026 order quantity, identify any remaining differences between the sample and the intended production garments. A change in blank garment or print dimensions deserves a deliberate review, even when the artwork stays the same.
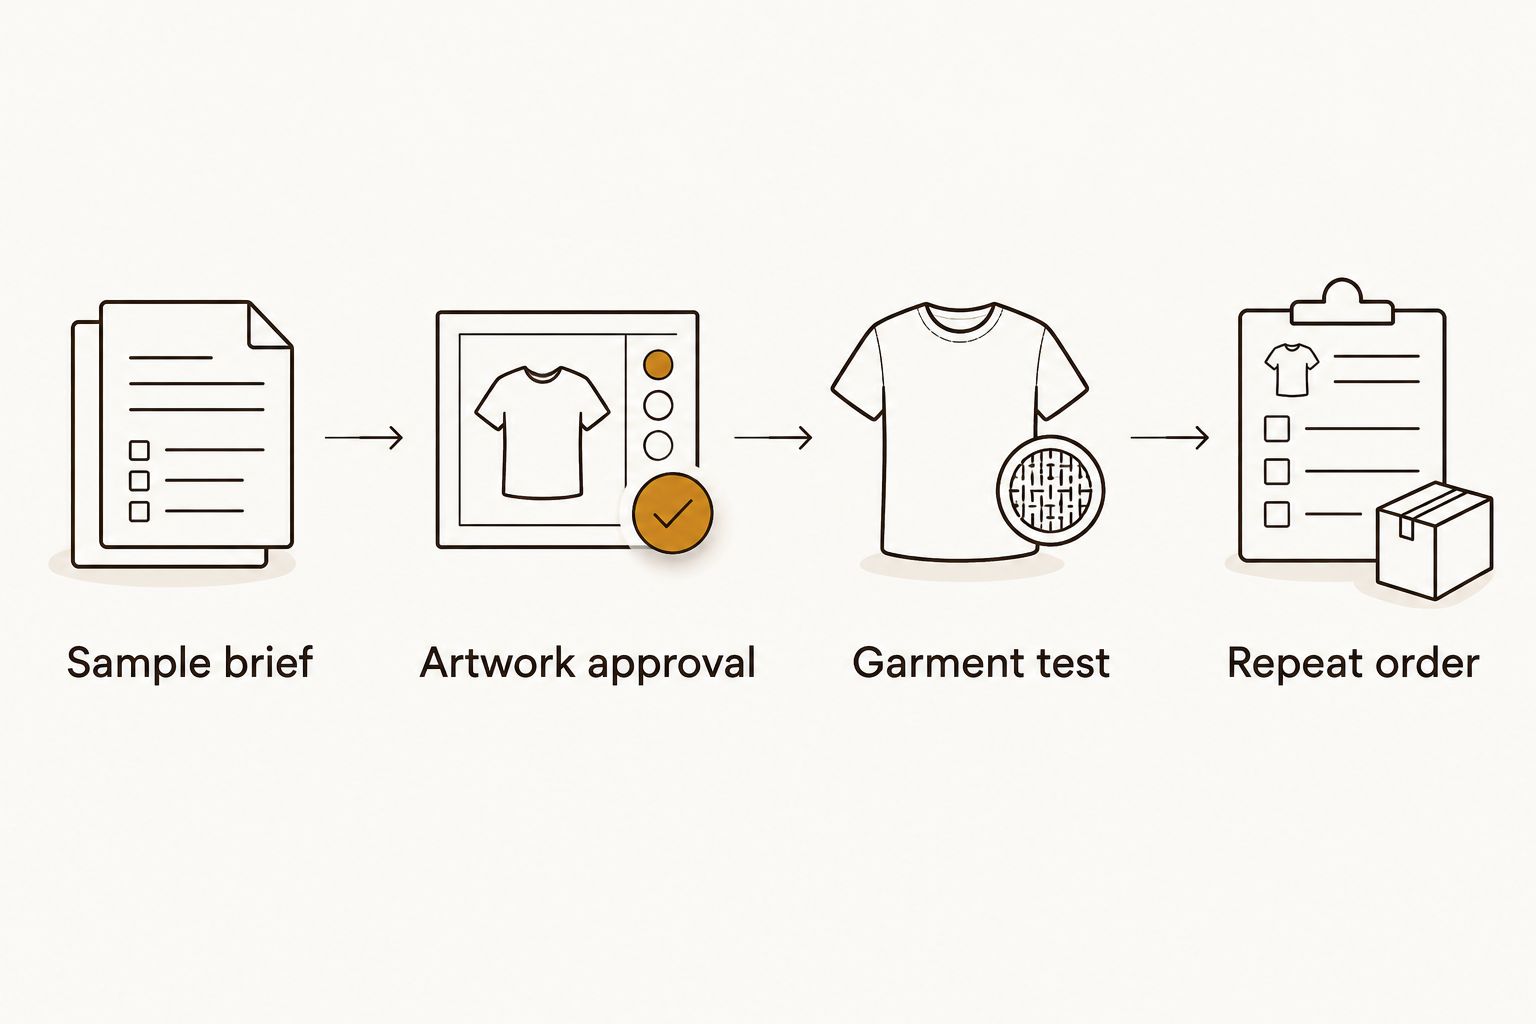
Use a short approval sequence that another person can follow without interpreting a message thread:
- Sample brief
- Artwork approval
- Garment test
- Repeat order
Compare sample-printing options
Choose the method that answers your sample question and fits your application setup. DTF transfers let you separate transfer ordering from garment application; that flexibility also puts responsibility on you to coordinate those tasks.
LongHorn Print’s DTF transfers suit buyers who want no-minimum transfer ordering. If your priority is receiving a finished decorated garment, define that requirement explicitly rather than assuming it is included with a transfer purchase.
| Option | Best for | Practical advantage | Key limitation |
|---|---|---|---|
| DTF transfers with your own application | Brands with suitable pressing equipment | You control sample placement and application | You must follow transfer instructions and validate the result |
| DTF transfers with an application partner | Brands that want transfers but do not handle pressing | Separates artwork ordering from garment application | Requires coordination between the transfer supplier and applicator |
| Direct-to-garment sample printing | Brands evaluating printing directly onto a garment | Lets you assess that print method on the intended blank | Results depend on garment suitability and the printer’s process |
| Screen-printed samples | Brands planning a screen-printed production run | Tests the intended production method | Screen preparation adds setup work for sample revisions |
Keep launch materials separate from apparel testing
A clothing launch can need more than transfers, but each printed item needs its own brief. Do not reuse a shirt layout unchanged across every surface: viewing distance, available space and application differ.
LongHorn Print also offers vinyl banners, UV DTF stickers and car window stickers. Use the product’s purpose to guide the order rather than treating those materials as interchangeable with apparel transfers.
- Vinyl banners — best for event or launch signage. Prepare display dimensions and readable artwork; a shirt graphic alone is not a sign layout.
- UV DTF stickers — best for suitable hard-surface branding projects. Confirm the intended surface and application requirements before ordering.
- Car window stickers — best for vehicle-window branding. Confirm dimensions, viewing direction and placement before approving artwork.
For a 2026 launch, keep these supporting orders separate from the apparel approval record. The next step for each is the same: submit the intended use, dimensions, artwork and quantity for a quote.
Common mistakes clothing brands make
- Approving only the mockup. A digital image cannot confirm the feel, placement or application of the physical transfer. Approve a decorated garment.
- Ordering every garment size before settling the design. Resolve artwork and placement first, then check the size range deliberately.
- Confusing transfer supply with finished apparel. Confirm who provides garments and who applies the transfers before placing the order.
- Treating same-day quotes as a production promise. Confirm production, pickup or shipping arrangements separately from the quote response.
- Changing several variables after a failed test. Isolate the garment, artwork or application change so the next sample answers a clear question.
FAQ
Where can I order DTF transfers in Houston without a minimum?
LongHorn Print offers DTF transfers in Houston with no minimum order. Submit your artwork, finished dimensions and quantity, and confirm application requirements before ordering.
How many DTF transfers should I order for a clothing brand sample?
Order enough transfers to cover your defined approval tests. Separate placement, wear and washing checks, and count each print location rather than counting only shirts.
Does a same-day quote mean my transfers will be ready the same day?
No. A same-day quote describes the quote response, not guaranteed production, pickup or delivery timing. Confirm those arrangements separately before committing to a launch date.
Should I use DTF transfers or direct-to-garment printing for samples?
Use the method that matches the result you need to evaluate. DTF transfers suit a workflow where you arrange application separately; direct-to-garment printing tests printing directly onto the garment.
Can I use the same transfer size across my clothing range?
Approve the artwork size on the relevant garment sizes before using one transfer size throughout. A graphic’s proportions and placement change with the garment beneath it.
What should I send when requesting a DTF transfer quote?
Send the approved artwork, intended print dimensions, quantity and garment details. Explain who will apply the transfers and ask for the applicable file and application requirements.
Can I use UV DTF stickers instead of apparel DTF transfers?
Do not treat UV DTF stickers as interchangeable with apparel DTF transfers. Choose the product for the intended surface and confirm suitability before ordering.
One last thing
Keep one approved sample unchanged. A reference garment gives your next order a physical target; a folder of mockups does not. Store the approved file, measurements and application record with it so you can repeat the decision rather than reconstruct it.