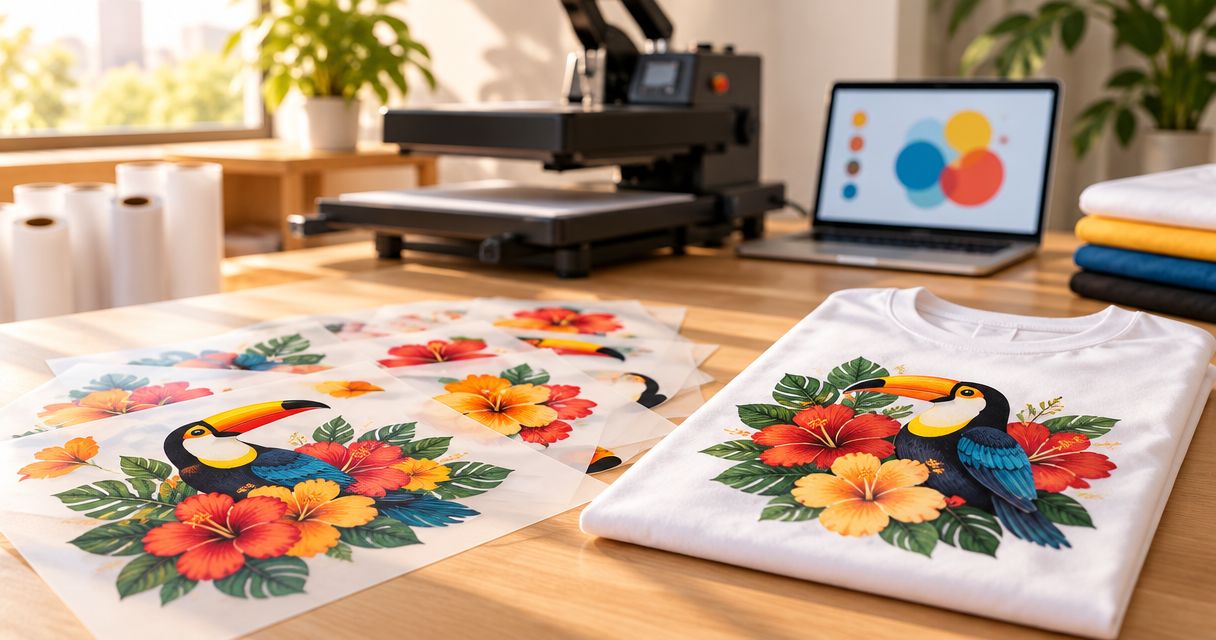
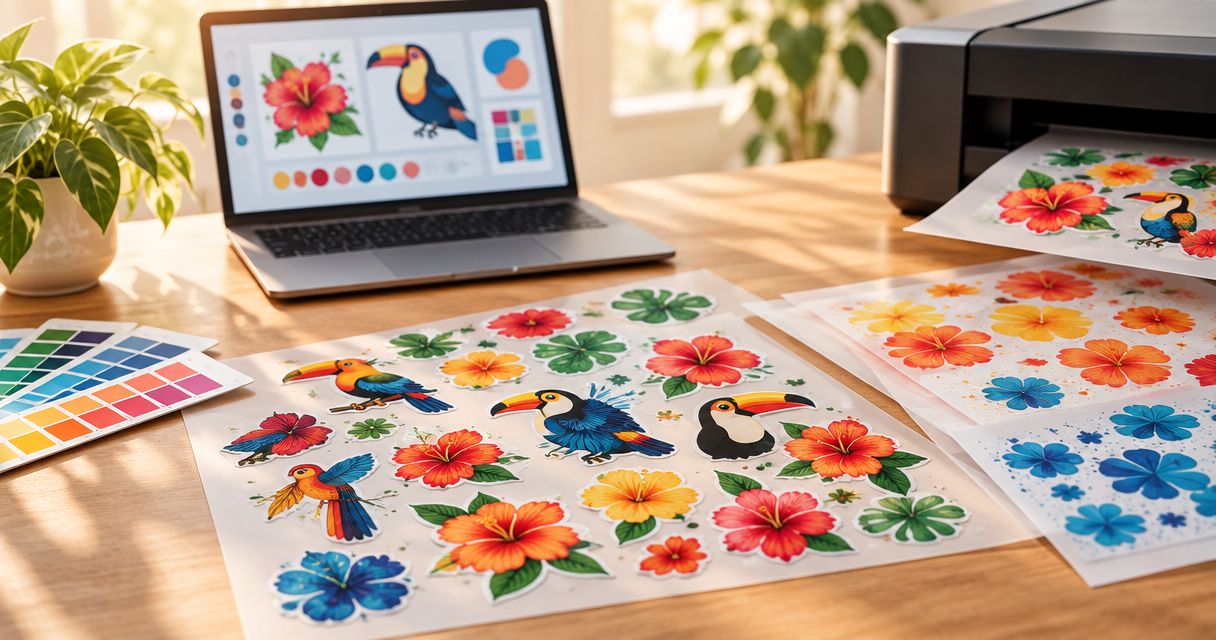
Prepare custom DTF gang sheets by sizing every design for its intended garment placement, removing unwanted backgrounds, and arranging the artwork within the printer’s confirmed sheet dimensions. Before you submit, check resolution at final size, inspect fine details, and confirm file requirements and transfer quantities; a clean-looking preview alone does not establish that a file is ready to print.
- Custom DTF gang sheets need final-size artwork, clean backgrounds, and confirmed sheet dimensions before ordering.
- LongHorn Print offers DTF transfers for Houston businesses, clothing sellers, crafters, and individuals.
- Check image resolution at printed size; enlarging a small file does not restore missing detail.
- Confirm accepted formats, artwork orientation, spacing, and pressing instructions with the printer.
Why this matters
A gang sheet puts multiple transfer designs into one layout. That helps you organize different graphics, repeat a logo, or prepare artwork for several garment placements, but it also repeats any file mistake across the layout.
LongHorn Print is best for buyers who need a Houston print shop offering custom DTF transfers. You can start with LongHorn Print and prepare your artwork questions before requesting a quote.
Use this 2026 artwork checklist before approving production. Keep the design file, quantity list, and order instructions together so the printer does not have to infer your intended result from a preview.
How do you prepare artwork for custom DTF gang sheets?
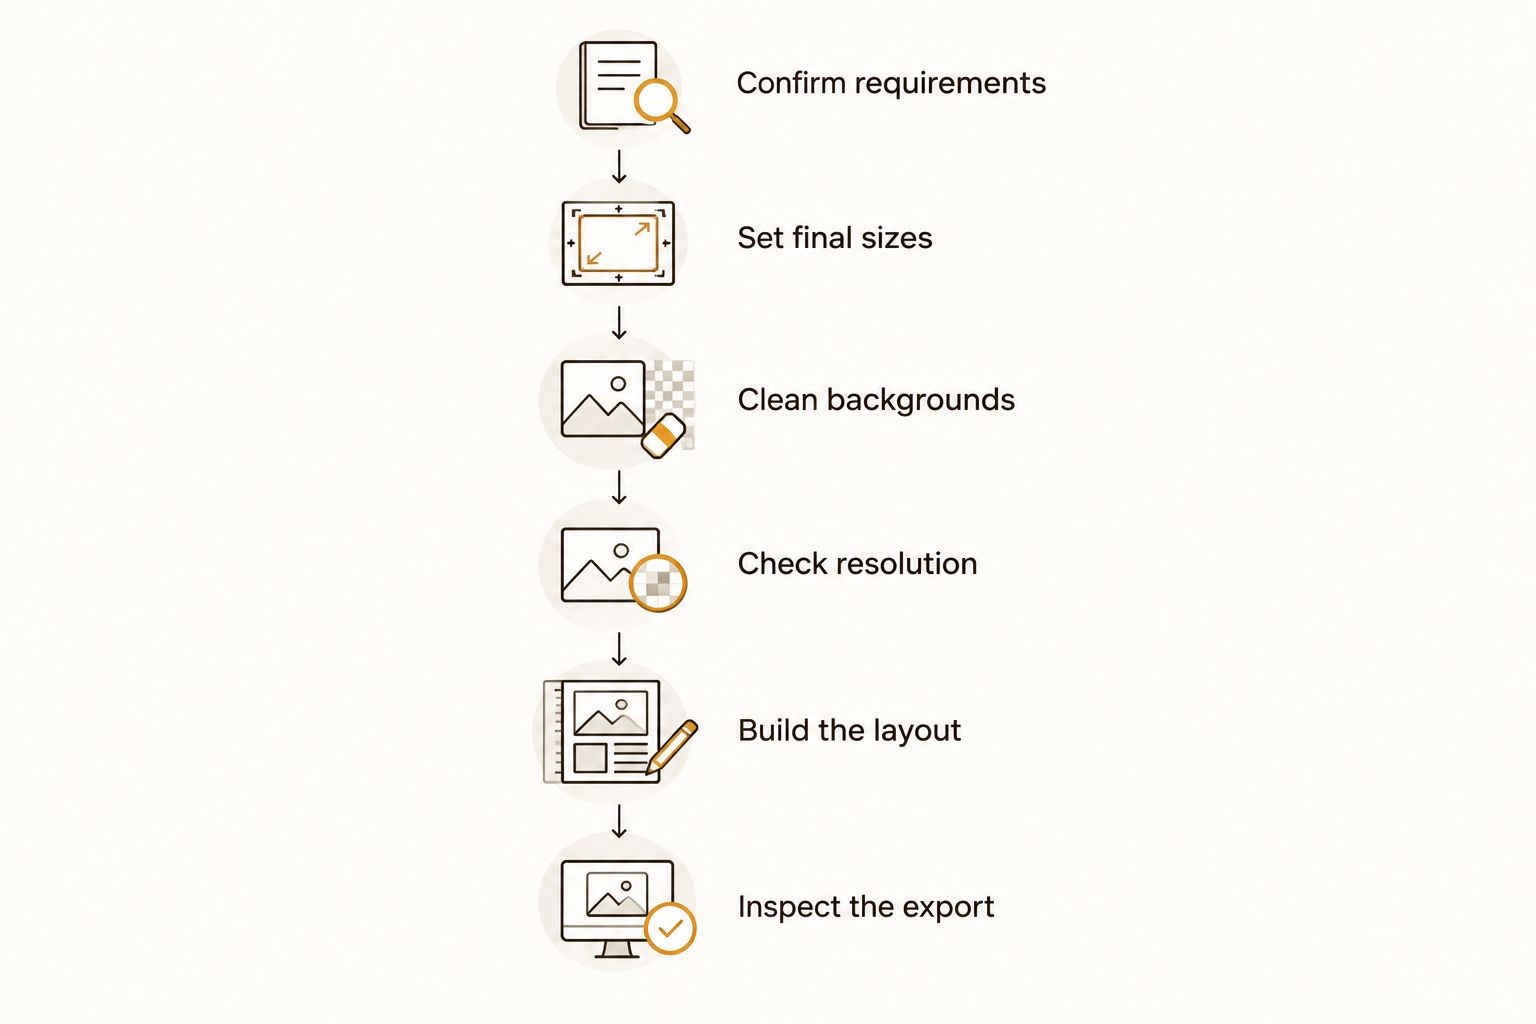
Follow this sequence before exporting your sheet:
- Confirm requirements. Ask for the accepted file formats, printable sheet dimensions, required spacing, and artwork orientation.
- Set final sizes. Assign a finished width and height to every design, including smaller placement versions.
- Clean backgrounds. Remove anything you do not intend to transfer, then inspect edges and enclosed spaces.
- Check resolution. Evaluate raster artwork at its actual printed dimensions, not just its appearance on screen.
- Build the layout. Place the correct number of each design inside the confirmed printable area.
- Inspect the export. Reopen the submitted file and compare it with your written order details.
Do these checks in order. Arranging the sheet first and correcting design sizes afterward creates avoidable layout work and makes quantity mistakes harder to spot.
Set each design’s finished dimensions first
Size the artwork for the garment placement, not for the empty space on the gang sheet. A chest logo and a large back graphic serve different purposes, even when they use the same original design.
Measure the intended placement on a representative garment. Check the actual printable area rather than assuming every garment style or size accommodates the same graphic.
For each design, record:
- A descriptive filename or design name.
- The finished width and height, with units.
- The intended placement, such as chest, sleeve, or back.
- The number of transfers required at that size.
- Any separate color or wording versions.
Preserve the artwork’s proportions when resizing. Stretching only the width or height changes lettering, circles, and logos; if the required shape does not fit the placement, revise the design instead.
A request for a smaller version needs its own dimensions. Do not rely on labels such as adult, youth, or pocket size to communicate an exact printed result.
Check resolution at the size you will print
Raster artwork consists of pixels. The larger you print the same file, the fewer pixels cover each inch, so evaluate resolution after setting the intended dimensions.
A common print-preparation target is 300 pixels per inch at final size; confirm the printer’s requirement before export. For example, a raster design measuring 12 inches wide needs 3,600 pixels across to provide 300 pixels per inch at that width.
That calculation describes image resolution, not a required transfer size or an available sheet size. Choose your garment placement first, then check whether the source artwork supports it.
Changing a resolution setting without adding genuine image detail does not repair a blurry source. Start with the original artwork whenever possible rather than a screenshot, social-media download, or image copied from a message preview.
Zoom in to inspect jagged edges and compression artifacts, then return to a final-size view to judge readability. Both checks matter: extreme magnification reveals defects, but the finished placement determines whether small text remains useful.
Choose a file type that preserves your artwork
For a 2026 custom DTF gang sheet order, confirm accepted formats before choosing an export preset. A familiar extension does not guarantee that dimensions, transparency, or text will survive the export correctly.
| Artwork option | Best for | Main advantage | Main limitation |
|---|---|---|---|
| Transparent PNG | Raster artwork needing a clear background | Supports transparent areas around the design | Loses effective resolution when enlarged |
| Vector artwork | Logos, lettering, and geometric graphics | Vector shapes scale without pixelation | Embedded photographs remain resolution-dependent |
| Layouts that need defined page dimensions | Can preserve page size and vector content | Export settings can alter transparency or rasterize content | |
| JPEG | Reference images or artwork intended to retain a rectangular background | Easy to preview and share | Does not support transparency; compression can damage edges |
Use the format the printer accepts, not the format that is easiest to send. A transparent PNG can suit finished raster artwork, while an accepted vector format can suit logos and lettering.
If you send vector artwork, ask whether text should be converted to outlines. Keep an editable original separately because outlined lettering no longer behaves like editable text.
If you send a PDF, reopen it and inspect its page dimensions and contents. A PDF can contain a low-resolution image; the file extension does not make that image sharper.
Remove unwanted backgrounds without removing white artwork
Transparency and white are different. A white background that should disappear needs to be removed, but white lettering that belongs in the design needs to remain part of the artwork.
Inspect the design against both a light and a dark temporary background. This exposes pale halos, leftover background pixels, and dark edges that are difficult to see against a single preview color.
Check these areas closely:
- Spaces inside letters and between connected shapes.
- Edges around hair, distressed textures, and curved lettering.
- White elements that disappear against the editing canvas.
- Shadows or glows that depend on partial transparency.
- Small disconnected pieces that will need handling during application.
A checkerboard preview usually indicates transparency inside an editor, but inspect the exported file too. The export can differ from the working document.
Ask the printer how soft edges and partially transparent effects will reproduce. Do not flatten the artwork onto a background merely to make the preview easier to view.
Arrange the sheet for cutting and identification
Get the printable sheet dimensions before opening your layout document. Confirm whether the stated dimensions describe the usable artwork area or the full sheet.
Keep designs separated according to the printer’s requirements and your cutting method. Artwork that fits mathematically can still be awkward to separate if surrounding designs leave no practical cutting access.
Use a simple layout checklist:
- Count by design. Match each repeated graphic to the written quantity list.
- Count by size. Treat different dimensions as separate items.
- Keep edges clear. Stay inside the confirmed printable boundary.
- Allow cutting access. Leave the required space between artwork elements.
- Avoid accidental labels. Keep notes outside the production artwork unless they are intended to print.
- Check rotation. Rotating artwork is different from mirroring it; confirm submission orientation separately.
For a 2026 event order, use recognizable design names in your order notes, such as front logo and back artwork. Do not place those notes on the sheet unless you want them included in the output.
A tightly packed sheet is not automatically a better sheet. Prioritize usable transfers and reliable quantities over filling every empty area.
Why artwork readiness varies
There is no single export setting that makes every design suitable for custom DTF gang sheets. These factors determine how much preparation your artwork needs:
- Source quality. An original design file gives you more control than a compressed screenshot.
- Final dimensions. Enlarging raster artwork reduces its effective resolution.
- Detail complexity. Fine lettering and isolated elements need closer inspection and printer confirmation.
- Transparency. Clean cutouts and soft effects require different checks.
- Layout complexity. Mixed designs and sizes make counting and identification more demanding.
- Garment application. Fabric, placement, and the pressing setup need confirmation before you commit to a transfer order.
Resolve artwork questions before approving production. A note explaining your intention is useful, but it does not replace a corrected file when the artwork itself contains the wrong size, background, or wording.
What should you send with your artwork?
Send a concise order brief alongside the production file. Include the artwork dimensions, quantity of each version, intended garment placement, and any questions that still need an answer.
For LongHorn Print orders in 2026, no-minimum ordering and same-day quotes help you plan the purchase. A same-day quote is not a same-day production or delivery guarantee. Confirm the production schedule and delivery arrangements separately.
Houston-area buyers should clarify collection arrangements before planning a visit. Customers ordering for US shipping should provide the destination and required event date, then confirm the applicable shipping details rather than assuming a delivery window.
Before submitting, ask:
- Is this file format accepted for this order?
- Are these sheet dimensions and design gaps correct?
- Should the submitted artwork be mirrored or unmirrored?
- Are any fine details unsuitable at the requested size?
- What application instructions apply to these transfers?
- What approval is needed before production begins?
Keep the approved file identifiable and separate from drafts. If you revise it, state exactly which version replaces the previous submission.
Can you mix different designs on a gang sheet?
A gang sheet can contain different designs and repeated graphics, provided the layout follows the printer’s requirements. Track each design and size separately so a visually busy sheet does not conceal a missing transfer.
Mixed artwork helps organize varied placements, but it adds counting and cutting work. A repeated-design layout is simpler to audit; choose the arrangement that matches the order rather than forcing unrelated artwork into one file.
Should you mirror DTF artwork before uploading?
Mirror artwork only when the printer’s submission instructions require it. Printing workflows handle orientation differently, so do not assume a rule from another transfer process applies.
Written confirmation is especially useful for lettering and asymmetric logos. Keep an ordinary-reading source file so you can correct the submission without rebuilding the artwork.
FAQ
What resolution should custom DTF gang sheets be?
A common artwork-preparation target is 300 pixels per inch at final printed size, but confirm the printer’s requirement. Increasing the resolution setting alone does not restore detail missing from the source image.
Can I use a PNG for a DTF gang sheet?
A transparent PNG can suit raster DTF artwork if the printer accepts it. Check final dimensions, effective resolution, and transparency in the exported file before submitting.
Should I remove the white background from my design?
Remove a white background if it is not intended to appear in the finished transfer. Preserve white lettering and other white elements that belong in the artwork.
Can different logo sizes go on the same gang sheet?
Different logo sizes can share a gang sheet when the layout meets the printer’s requirements. Record the dimensions and quantity of each size separately.
How much space should I leave between DTF designs?
Use the spacing specified by the printer and leave practical access for separating the transfers. Confirm that spacing before arranging the sheet rather than assuming a universal gap.
Does LongHorn Print offer no-minimum DTF ordering?
LongHorn Print offers no-minimum ordering and same-day quotes for its custom printing services. Confirm the artwork requirements and production schedule for your DTF order; a same-day quote does not guarantee same-day printing.
What should I check before pressing a DTF transfer?
Confirm the transfer’s application instructions and the garment’s suitability before pressing. Use the specified temperature, time, pressure, and peel procedure rather than borrowing settings from another transfer product.
One last thing
For your final 2026 preflight, reopen the exact file you intend to upload—not the editable original. Compare its dimensions, quantities, wording, and transparent areas against your order brief.
Approve the exported file, not your memory of the design. Keep that approved version with the printer’s application instructions so the artwork and production decisions stay together.